This article is more than 1 year old
The last post: Building your own mail server, part 2
Getting the basics of your box up and running
Prepare to submit
First, we'll set up message submission on port 587. This involves setting up a process to listen for connections, so it's done in the /etc/postfix/master.cf file. In fact, you'll find an option for it commented out already in there, so you can just uncomment that and the following lines with options (beginning “-o”). I'm going to start with a simpler set, though, so uncomment the line starting with #submission and add these options, to end up with this
submission inet n - y - - smtpd
   -o smtpd_sasl_auth_enable=yes
   -o smtpd_sasl_security_options=noanonymous
   -o broken_sasl_auth_clients=yes
The final option there deals with the quirks of some clients, such as Outlook Express 4. You can look up the meaning of any Postfix parameter in the big bumper list. If you want to limit the number of processes handling submission to, say, five, just replace the final - before smtpd. After changing the file, reload the config with the command
postfix reload
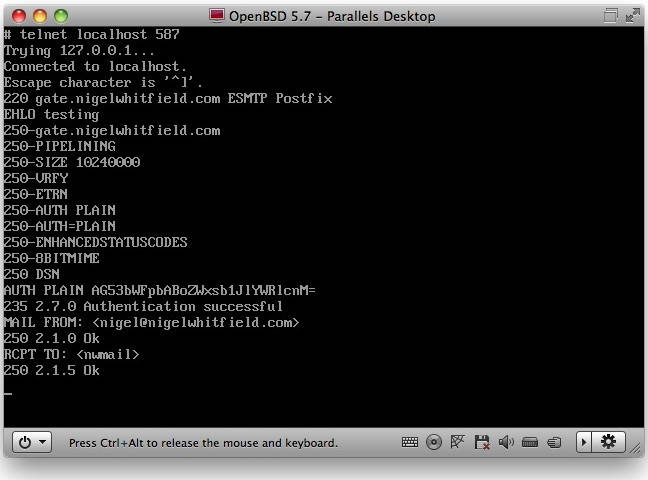
If you want to test authenticated submission, you'll find step by step instructions here - just use port 587 instead of 25. If all works according to plan, if you send yourself a message, the headers will show the user id used for authentication.

Testing SASL is simple, once you've created the authentication hash
To add greylisting is pretty simple. Essentially, this is restricting who can talk to smtpd, and PostGrey runs as a 'policy server', by default on port 10023. Postfix talks to it to check whether or not a connection should be greylisted. So, in main.cf, add these lines:
#Greylisting filter, with postgrey
smtpd_recipient_restrictions = permit_mynetworks,
   permit_sasl_authenticated,
   reject_unauth_destination,
   check_policy_service inet:127.0.0.1:10023
If you want to test this, the quickest way is to comment out the mynetworks setting in the same file, and uncomment the line #mynetworks_style=host. Then, start Postgrey with
/etc/rc.d/postgrey start
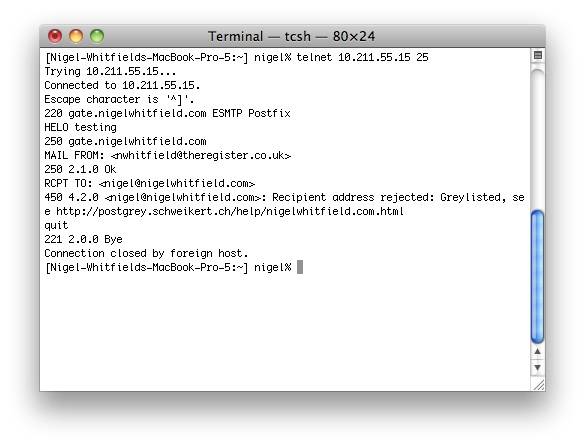
reload Postfix, and try connecting to port 25 from a different machine on your LAN. You should see a Greylist rejection after sending the RCPT command. Remember to change the mynetworks settings back after testing, to ensure local clients aren't greylisted.

Tweak the Postfix settings and connect from another system to check the greylisting is working ok
So far, so good
Now, you should have a working mail server with IMAP and POP3, virtual domain support, and greylisting. I don't recommend you point your MX records at it just yet - we've still got spam and virus filtering to go, which we'll cover in the next part, together with a few bits of housekeeping, like generating useful log summaries.
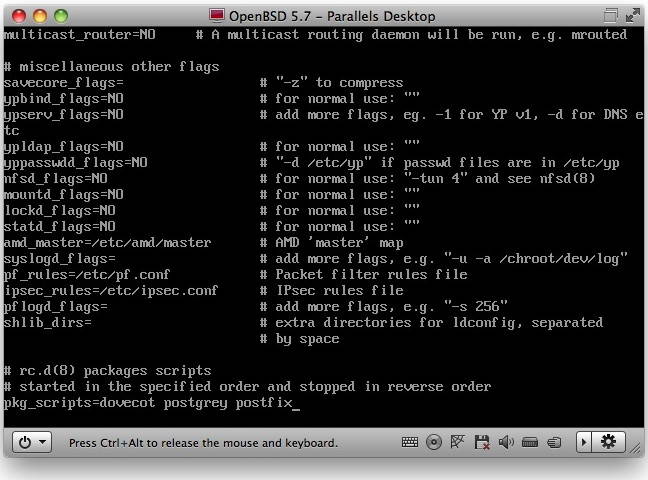
For now, though, we'll just do one final tweak to make everything start at boot time. For packages installed on OpenBSD, this is very simple. Edit the file /etc/rc.conf, and right at the bottom you'll find a line that defines the pkg_scripts variable. This is just a list of the scripts in /etc/rc.d that should be run during startup/shutdown. So for what we've installed so far, it should read
pkg_scripts=dovecot postgrey postfix

Starting the mail system is easy – just list the packages in rc.local and they'll run at boot time
Save the file, and now when you reboot you should see all those services start automatically. If you want to alter settings for PostGrey, like the failure message it sends, you can edit /etc/rc.d/postgrey and change the value of the daemon_flags variable. Till next time! ®
