This article is more than 1 year old
Android's delicate guts ripped apart
Screws, and then some
Photos Sure, plenty of people have cracked the iPhone's software, but the Droid's hardware? That's a different matter.
Motorola's engineers have worked hard to make their debut Android-powered phone as delicate - and difficult - to deconstruct as possible.
The tear-down crew at PhoneWreck got to grips with this Google-powered midget, though, to give you a glimpse at its delicate insides.
You can check out the full deconstruction at phonewreck.com, or take an expedited trip with us through the hardware.
After removing the back cover and battery, it's screw and fiddle city: with your T6, remove both the silver and black screws from the rear of the chassis that hold holds the PCB and the back plate on the screen portion of the device in place.
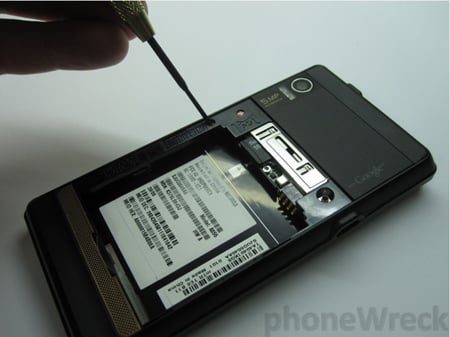
Motorola's Droid gets a probing
Finding the next set of screws presents a challenge: they are hidden beneath the plastic piece above the Google label at the very back of the phone. To access them, you need a pin or other small prying device - but be careful, as the plastic pieces tend to be slightly brittle. Once you find the screws, remove them
Another screw is hidden underneath the Google label and lens cover - which needs to be removed. But even this isn't the frustrating part - that's next, with the final three screws.
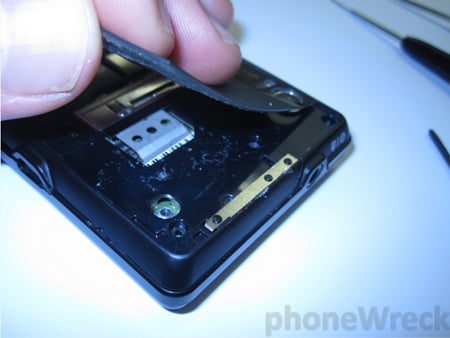
Spot the screw: hidden beneath the Google label and camera lens cover
Your last three screws are hidden beneath the fake-gold grating that covers the bottom of the battery door. To get at them, you'll need to bring your pin back into play to pry up the grating. Once in, look for the heavily disguised screws and yank them out to free the Droid's PCB. After you've done that, use your wedge to pry out the clips on the back of the Droid's frame.
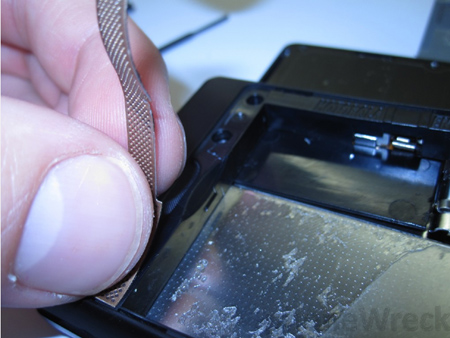
Fake-gold foil yields its hidden screws
Next, you need to remove one final silver T6 screw used to lock down the logic board. Once that's out the way, you can pop off the flex cables used to connect the device to the screen, and then you can flip away the PCB and remove the remaining flex cable.
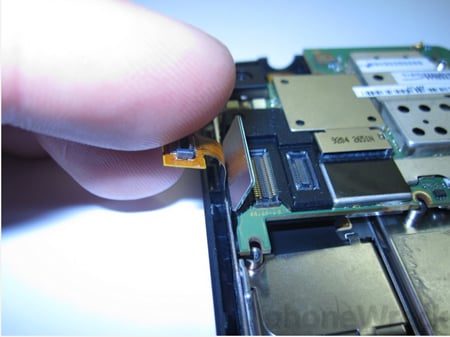
Pop off the flex cables to separate device from screen
Once you're free of the PCB you can remove the screen and Droid's slider mechanism simply by pulling at the back plastic frame used to create the phone's upper border. The slider mechanism is simplicity itself - essentially just two rails that are embedded within the screen portion of the device.
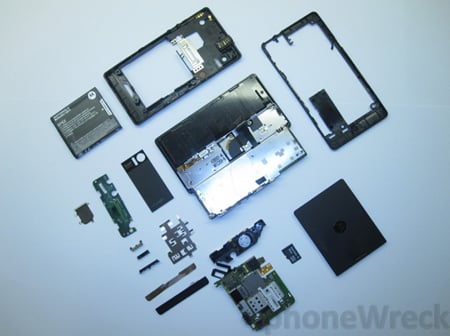
Insides out: the Droid's bits on display
As you can see, there's not much to the Droid under the covers, but getting there proved a worthy test of observation and finger size. A worthy adversary, the Droid, but ultimately no match fro the PhoneWreck folks. ®
