Original URL: https://www.theregister.com/2012/09/20/how_hard_is_3d_printing/
How hard is 3D printing?
Modelling technology takes shape
Posted in Personal Tech, 20th September 2012 07:00 GMT
If you want to make your own gun or harboured a desire to make a boat perhaps the device you need is a 3D Printer. In principle it sounds easy: just download a 3D model from the net, throw it at the printer, and whatever you desire comes out the other end.
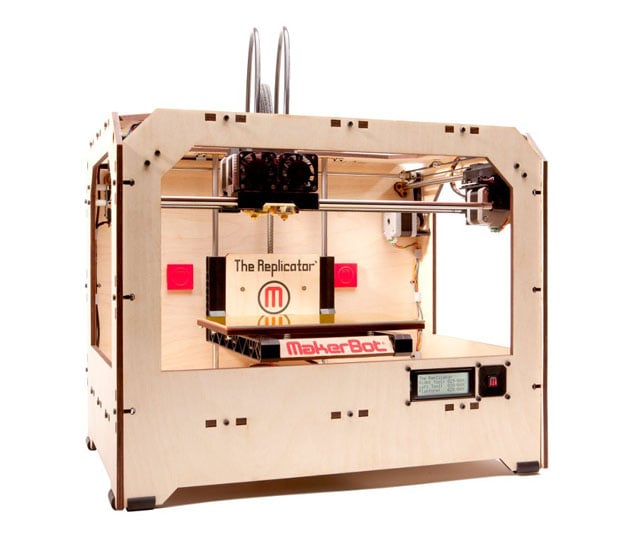
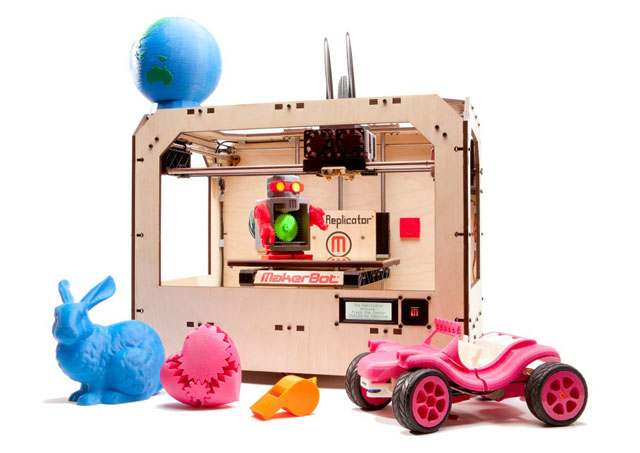
MakerBot's The Replicator
The truth is, it’s not quite that straightforward. We used a Makerbot Replicator to build a physical manifestation of the El Reg vulture. The first challenge was to find an existing model of a vulture, online. All the decent-looking ones and quite a lot of the rubbish ones were expensive.
The Pirate Bay has a section called Physibles but there isn’t much there other than bits of guns and a model of Mark Zuckerberg’s head. Even the much richer model stream of Thingiverse only yielded an eagle.
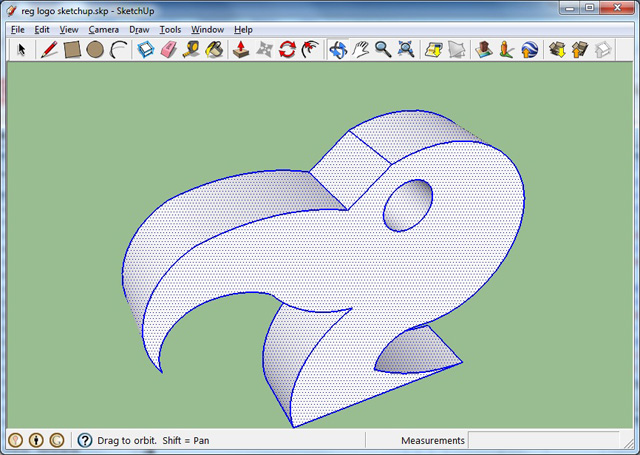
El Reg vulture in Sketchup
This meant that the only viable option was to build something from modelled on The Register logo. I imported The Register masthead bitmap into SketchUp – the free 3D modelling application Google recently sold to Trimble – and traced around the outline of the vulture head with the line and arc tools. This gave me a modelled, albeit, flat head.
Next, using the push tool I lofted it into a 3D shape, choosing a round eye rather than an accurate Reg Vulture eye because of something I had planned for later where a complicated intrusive shape wouldn’t have worked. So with a simple 3D shape modelled it was time to meet the Maker. The Replicator uses the STL file format (alternatively standing for STereoLithography or Standard Tessellation Language depending on who you ask). Fortunately, there is a plug-in for Sketchup which generates .STL files.
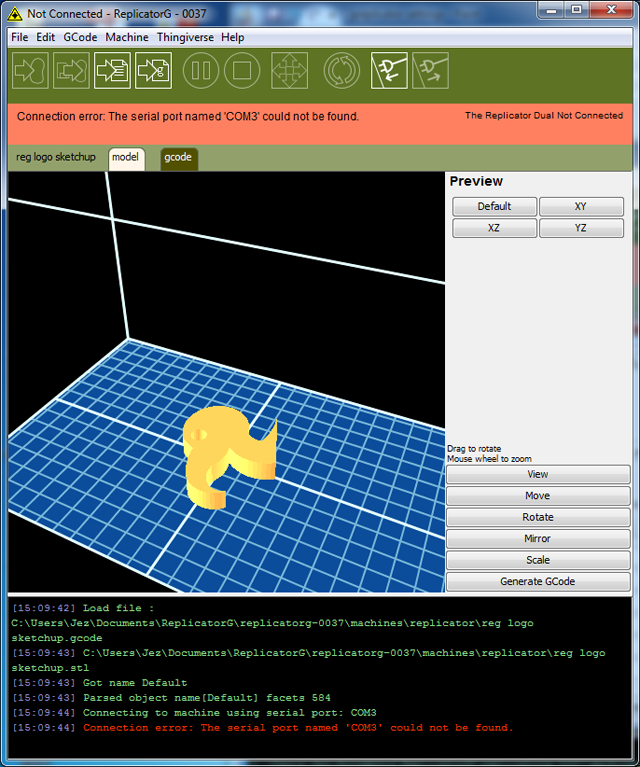
Greplicator software showing model
The file can then be read into the Makerbot software called ReplicatorG which produces the GCode script the model is built from. ReplicatorG helps make the model suitable for printing by positioning the shape on the platform and scaling it to fit, all the way up to the maximum size the Replicator can handle.
Crash and burn?
When the script file is generated a number of parameters can be specified, one of which is Infill - The model is not solid - the software constructs braces within it to give it strength. The more infill you have the stronger the model but this requires more material and takes longer to print.
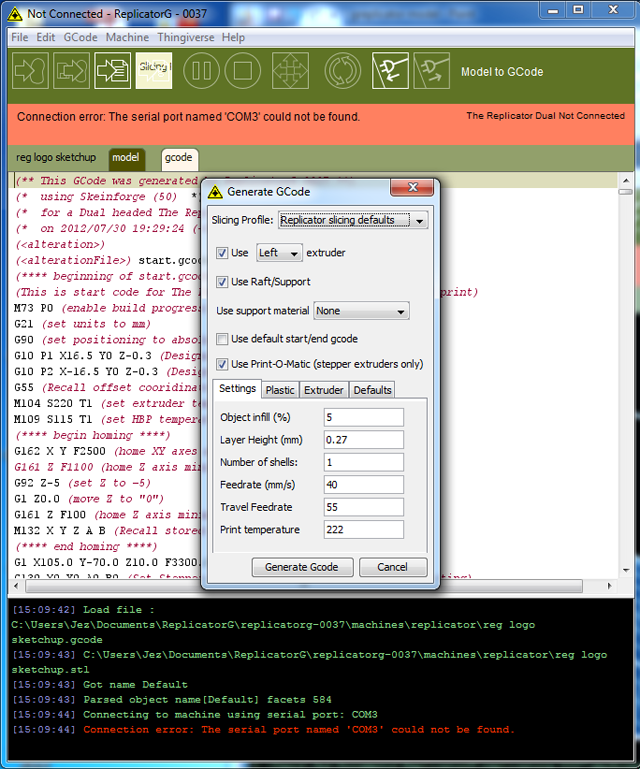
Greplicator model parameters
Printing is a slow process, so rather than connecting the Makerbot to a computer and risking a crash or reboot, instead, we saved the script to an SD card and plugged it straight into the Makerbot. The Replicator’s plywood chassis contains three sets of stepper motors, two of which control the X and Y axis of the print heads, which in the world of 3D printing are called Extruders. The third raises and lowers the platform to give the model height.
The platform has to be level and setting it up is pretty low-tech. The platform needs to be covered with a film, (called Kapton) which needs to be applied bubble-free. The extruders are then moved to various points around the platform with a piece of paper held between the extruders and the film.
You slide the paper to make sure there is just a little grip. If there’s too much you turn a screw to lower that part of the platform, no grip at all and you raise it. Since this is a machine that chugs around and gets hot and cold it’s definitely not a set-and-forget process.
The hot and cold bit is extremely important. Melting plastic needs something very hot and there is a lot of metal to heat in the extruders and platform. The extruders run at around 220°C and the platform has a default temperature of 100°C. The “Burn, crush and Cut Hazard” warning labels on the front of the device aren’t just there for show. Heating to takes a little over 10 minutes – which should make you a little less impatient the next time you’re tapping your feet waiting half a minute for your shopping list to be spat out of the laser printer.
A raft of possibilities
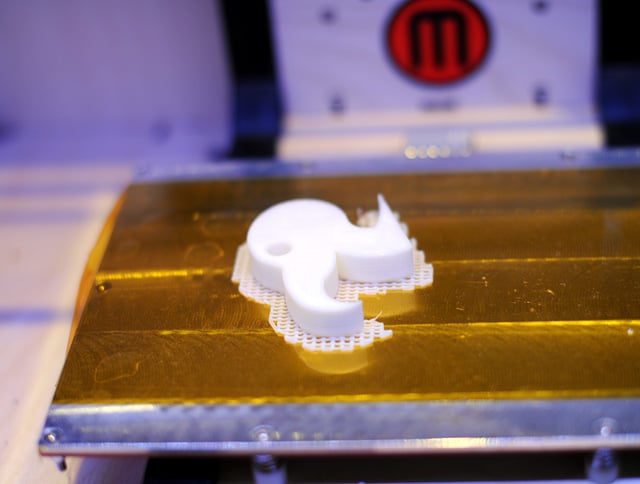
The first stage of the printing process is laying down a raft. This is a mesh which grips the Kapton and provides some plastic for the model to be built upon. It’s mostly necessary for models which don’t have a flat-ish bottom and might not have been necessary for our Vulture head.
Heated decisions
The shape of the raft is calculated by the Replicator software to carry the completed structure and the extruder head traces around the outline and fills in the shape, building the model up layer by layer. The white plastic we used made it look like piped icing, and you can see why there are people working on chocolate printers.
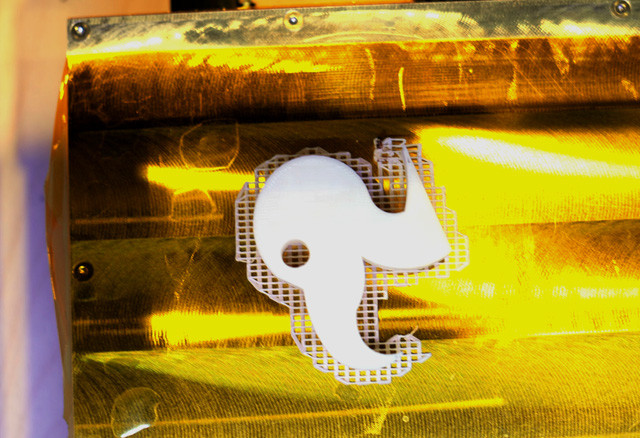
Making a mesh of things
Our El Reg vulture didn’t hatch the first time. Indeed, there are well-documented issues to do with keeping the model stuck to the platform. Taking on board the advice in the Makerbot FAQ, we put a piece of printer paper over either end of the machine to stop through-drafts. We didn’t seal off the front because we wanted to be able to poke at the extruder if it got gummed up – a problem we’d seen with previous models – and you’d need to put a box over the top to encase the tubes which feed the extruders with plastic.
The first attempt suffered a blob of plastic forming on the extruder and attaching itself to the model. This hardened and when the extruder hit it the next time around it knocked into the model, which started sliding around the platform. The second model worked a bit better but the raft started to heat and curl, eventually losing grip on the platform and sliding around. The third attempt was a success, presumably because everything was up to a good operating temperature. The raft lifted slightly but not enough to lose grip.
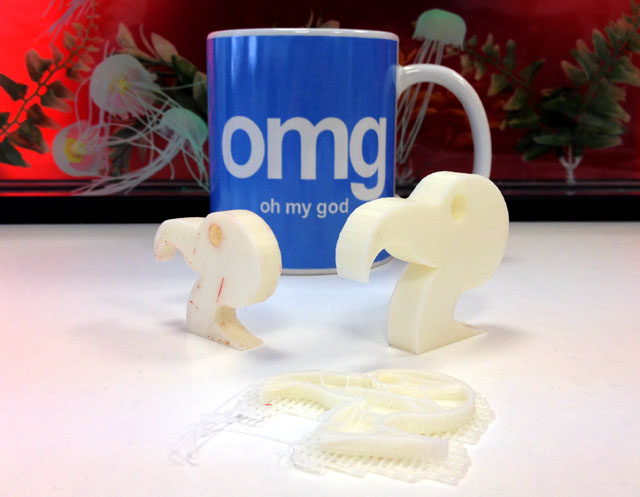
White chocolate vulture, anyone?
Emboldened by this we decided to try a larger one, once again taking the FAQ advice and raising the platform temperature to 115°C in order to reduce the chance of the raft curling. The increase of 15°C doubled the heating time. This temperature change is a bit of a hack as the GCode has to be edited by hand within the ReplicatorG software. It did however work well and we can now reliably produce a colony of Vulture heads should there be a sudden groundswell in demand.
Currently, the main use for 3D printing technology is prototyping. The dummy phones manufacturers take in to show corporate customers before they’ve started making models, phones which are just a support to PowerPoint, cost thousands of pounds. An injection mould costs many thousands – sometimes tens of thousands of pounds – to make. Yet the combined cost of the plastic in the two successful El Reg vulture heads plus the two failures totalled a little more than twelve pence.
Here's something we prepared earlier
Undoubtedly there is a tremendous sense of achievement holding something you’ve modelled and made but, ultimately, what you’ve got feels like it’s come out of a Kinder egg. You can change the colour because the plastic comes on spools, there is even a glow in the dark plastic available. Our Makerbot has two heads so you can print two colours at once, what you can’t do is mix the plastics so that black and white would make grey or red and yellow orange. This is promised for a later firmware update.
Looking at the online libraries of available things there is very little, gun parts aside, that is actually useful and most of those are probably best bought in a shop. Of course, those of us old enough remember our relatives looking blankly at our shiny new Commodore VIC 20 and saying “A home computer, yes, but what’s it for?” will probably see that today 3D printing is pretty much at that stage. One day, perhaps in the not-too-distant future, there will be one – or something much like it – in every home. Hmm, now that I think of it, perhaps I should go and print out a new case for my VIC 20… ®