Original URL: https://www.theregister.com/2012/04/30/lohan_rehab/
LOHAN enjoys a silicone lightbulb moment
Cracks hypobaric chamber seal
Posted in Science, 30th April 2012 11:29 GMT
We've been beavering away on the Rocketry Experimental High Altitude Barosimulator (REHAB) element of our Low Orbit Helium Assisted Navigator (LOHAN) mission, and last week enjoyed a lightbulb moment as to how to create a decent seal between the metal hypobaric chamber and the glass lid.
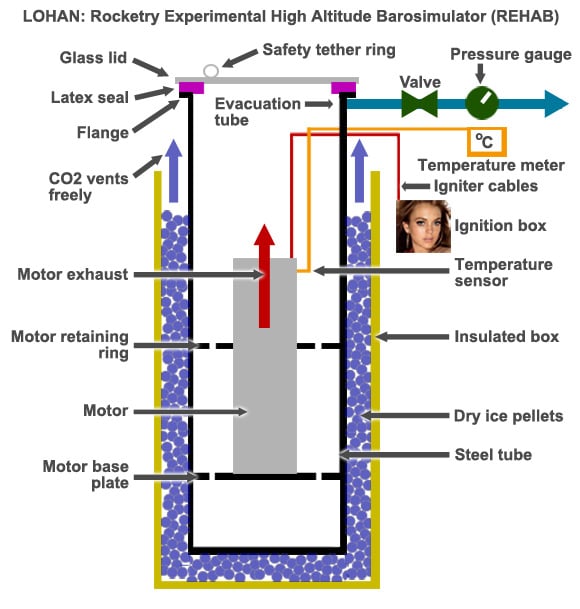
![]() Those of you who are new to REHAB should cast your eyes on the graphic below, which shows just how our cunning plan to test solid rocket motors at low pressure and temperature works.
Those of you who are new to REHAB should cast your eyes on the graphic below, which shows just how our cunning plan to test solid rocket motors at low pressure and temperature works.
This is the final concept, reached after a not inconsiderable amount of head-scratching, and plenty invaluable input from our beloved reader experts...
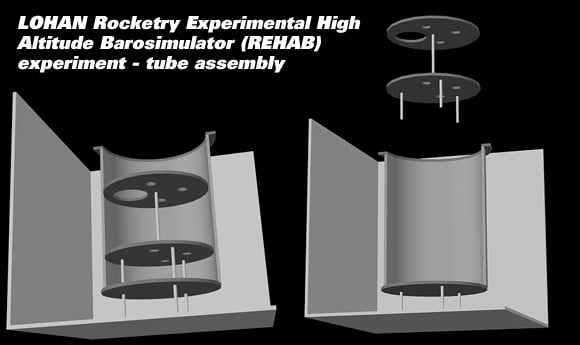
Here's a quick recap on how we put the chamber together. First up, our CAD-modelling expert, Federico Buenadicha, put together a representation of the REHAB chamber and inner assembly:
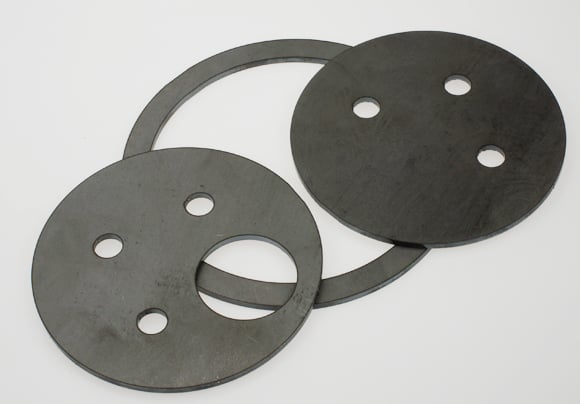
The CAD plans were whisked off to the plasma cutting machine, which crafted the essential inner assembly parts and flange:
Down at the local metalworks, Antonio Parra Cifre put the whole thing together...
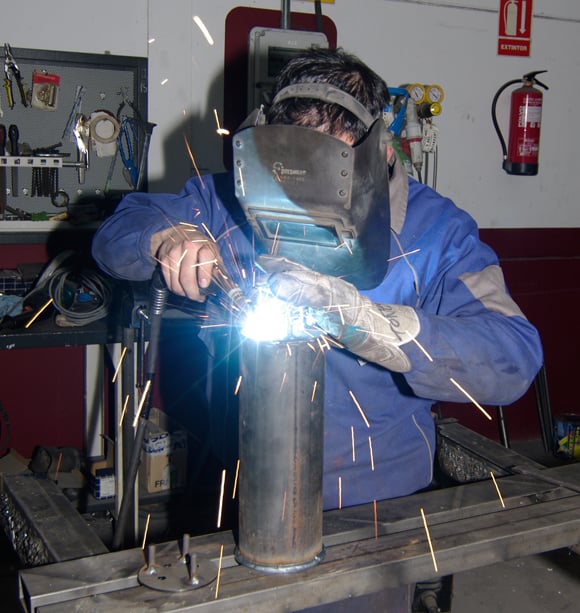
...and in a couple of hours we had the finished product. Note the addition of a flat metal plate to the chamber's outer wall, to allow connection of the evacuation tube, thermocouple and ignitor wires:
Our test motor - an AeroTech RC 32/60-100NS - will sit inside the chamber like this, with a ring-type thermocouple strapped it its meaty girth:
So, that's all looking very plausible, but we were having a bit of trouble working out just how to seal the glass lid to the chamber. A few readers doubted a circular flat seal like the one shown in the above graphic would work, since it'd be sucked into the chamber.
We looked into getting a custom flanged seal made, but the cost was prohibitive. Then, in one of those beer-driven moments of inspiration, it occurred to us that we could simply make our own seal from silicone rubber.
This is the concept, with the chamber sitting upside-down:
By pouring a seal from mould-making silicone, we could ensure it would conform exactly to the top of the chamber, while passing right round the flange - thereby eliminating the risk of being sucked into the chamber.
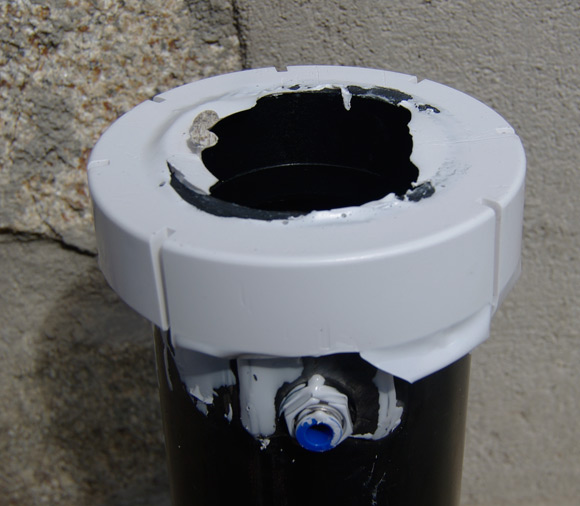
This is the complete seal-making kit:
Clockwise from bottom we have: catalyst, silicone, silicone mould-release spray, acetone for degreasing the chamber and mould, and the two parts of the mould.
The mould is a couple of off-the-shelf plumbing fittings. The outer bit is a plastic drain part, and the inner is sawn off the end of a big water pipe compression fitting. We didn't think it was necessary to join the two, since the weight of the REHAB chamber provided an adequate seal to stop the silicone escaping where the inner and outer moulds met.
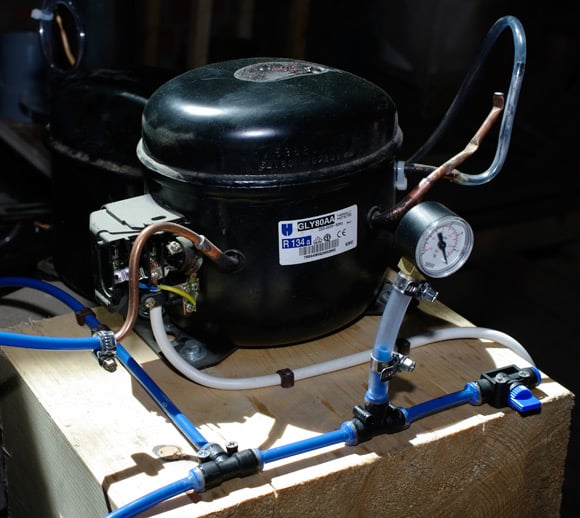
A quick mix of silicone and catalyst later, and we were ready to pour. Before that, though, we thought we'd use our REHAB vacuum pump to degas the rubber, in a rapidly-improvised degassing chamber:
It worked, although our increasingly Heath Robinson pump set-up - seen here boasting two units in an attempt to get more suction - clapped out completely shortly afterwards:
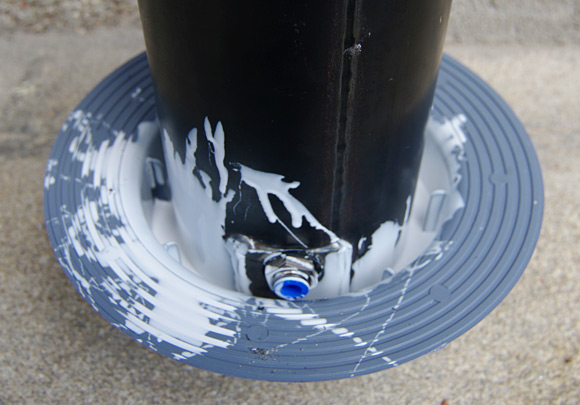
Still, we were able to get a good whack of the air out of the silicone, and poured it lovingly into the mould:
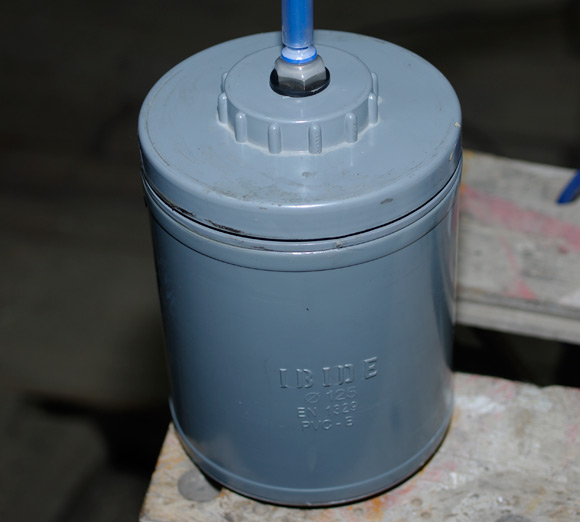
Twenty four hours later, the seal looked a bit of a dog's breakfast when we pulled it from the mould...
...but after a quick clean-up, apprentice boffin Katarina was able to give it the thumbs up:
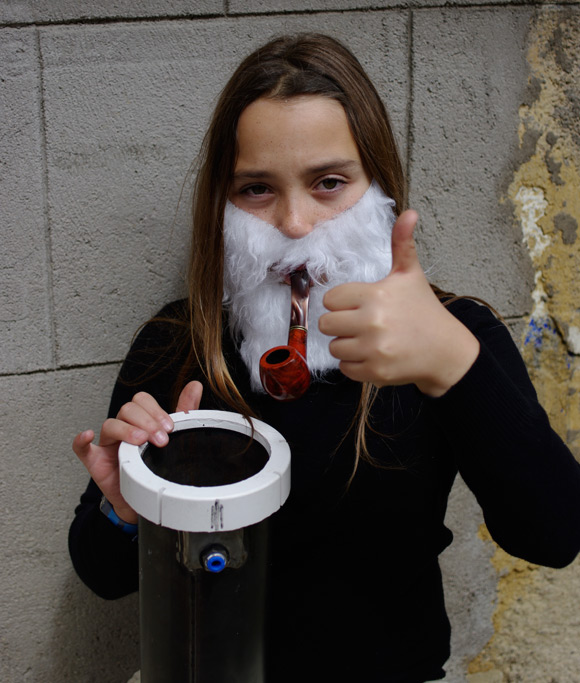
We're pretty pleased with the result, and can of course make a couple of spare seals, just in case.
Finally, you're no doubt pondering the fitting seen on the outside of the chamber in the above snap. It's the evacuation tube connection, which will shortly be joined by a couple of really tasty cable feedthroughs for the thermocouple cable and ignitor wires.
Here's one of the feedthroughs dismantled, in all its steel and PTFE glory:

As you can see, we've still got a bit of work to do to prepare for the big REHAB test, including finding a new vacuum pump, but we hope to be ready to press the big red button soon. ®
Further LOHAN resources:
- New to LOHAN? Try this mission summary for enlightenment.
- You can find full LOHAN coverage right here.
- Join the expert LOHAN debate down at Reg forums.
- All the LOHAN and Paper Aircraft Released Into Space (PARIS) vids live on YouTube.
- For our SPB photo archive, proceed directly to Flickr.
- We sometimes indulge in light consensual tweeting, as you can see here.
