Original URL: https://www.theregister.com/2011/06/08/how_to_set_up_ipv6/
Get your network ready for World IPv6 Day
Survey the lie of the LAN
Posted in OSes, 8th June 2011 07:00 GMT
Hands On Today is World IPv6 Day, so you might be wondering just how easy it is to run IPv6 on your own home network. The answer is that it’s surprisingly simple, and even if you can’t yet get IPv6 connectivity from your internet provider, it’s still possible to connect your PC – or indeed your whole network – to the IPv6 internet.
To do that, you use an tunnel, essentially encapsulating IPv6 traffic over your existing net connection, a little like the way you’d set up a VPN connection to the office. However, instead of connecting your computer to the secure LAN at work, what you’re doing is connecting it to a remote system that has connectivity via IPv6.
Any traffic from your computer, or other systems on your network, that’s using IPv6 gets sent down the tunnel, emerging at the other end, allowing you to connect to other sites that also run IPv6.
To be honest, right now this is something of a geek’s game - there isn't really anything you’ll need to connect to that isn’t also available through the current IPv4 protocol, and though there are some sites that use IPv6 – and many will be testing it today – there’s also going to be increased latency when you’re connecting through a tunnel, rather than directly.
But the technology’s there, it’s simpler than you think to set it up, so why the heck not?
Want the low-down on IPv6? Check out Reg Hardware's WTF is... IPv6
Getting started
There’s a pretty good chance you’ll have everything you need to get IPv6 up and running – recent versions of Windows include the necessary software, so does Mac OS X, Linux and BSD.
You’ll probably need tweak the firewall on your router, to ensure that the tunnel can be passed through, and it’s worth stressing here that this effectively means that, as far as IPv6 goes, your system will be unprotected by the router. Consider the security implications of that carefully, especially if you’re going to connect other machines on your home network too.
I'm going to concentrate just on setup here – security is up to you.
The other thing you’ll need is a tunnel service. In this example, I'm going to use Hurricane Electric’s Tunnel Broker, which is free and also provides an IPv6 DNS proxy, so you don’t really have to worry about setting up anything other than the tunnel itself.
I'm also using Windows XP Pro with SP3 for the first part of this example - the HE service provides configuration information for most common operating systems, so it’s easy to follow even if you are using a different platform.
Step 1 – Registration
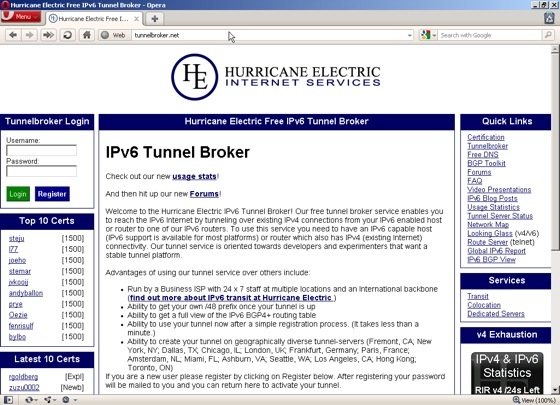
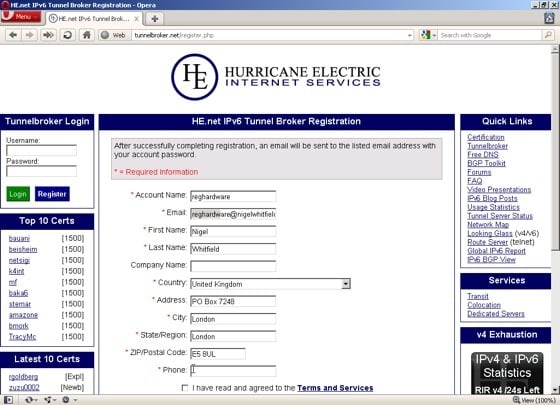
Fire up your web browser and head over to tunnelbroker.net, then click the Register button in the top left corner, fill in the form and wait for the confirmation email to be sent to you. When that arrives, head back to the site and sign in with the username you picked and the random password included in the email.
Step 2 – Remote setup
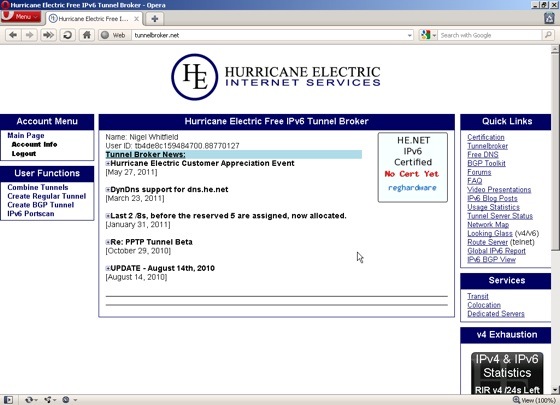
This is the main page of the TunnelBroker site, once you’ve logged in. The next step is to create a tunnel, so click the ‘Create Regular Tunnel’ link in the User Functions panel at the left.
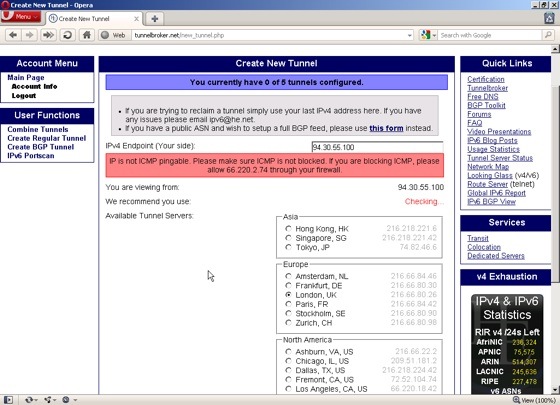
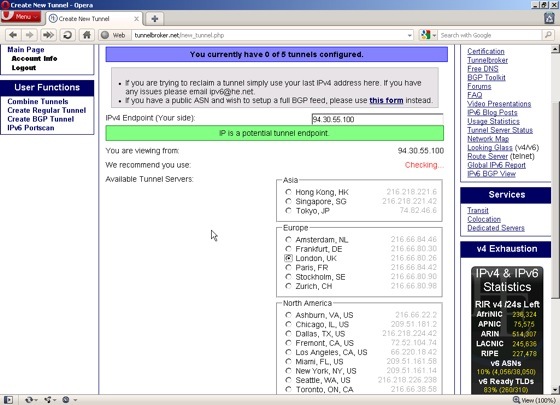
On the next page, enter the public IP address of your local machine. The Tunnel Broker site will check to see if it’s reachable and if – like my system – it’s not, you’ll see a warning message asking you to allow 66.220.2.74 through your firewall. When you’ve got that sorted correctly, you’ll see a message in a green box telling you it’s a potential endpoint.
One thing to remember here is that this check is not necessarily from the default endpoint at Hurricane Electric. If, like me, you’ve selected a different location, like London, then you’ll need to ensure that you set up your firewall to allow the tunnel to work to that address too. Forget that and you’ll spend ages scratching your head and wondering why things aren’t working. So, make sure you jot down the IP address of the tunnel server that you choose. You may also have to configure your firewall to allow protocol number 41 to pass through it, which is ‘IPv6 encapsulated in IPv4’
Scroll down the page and click ‘Create tunnel’.
Step 3 – Local setup
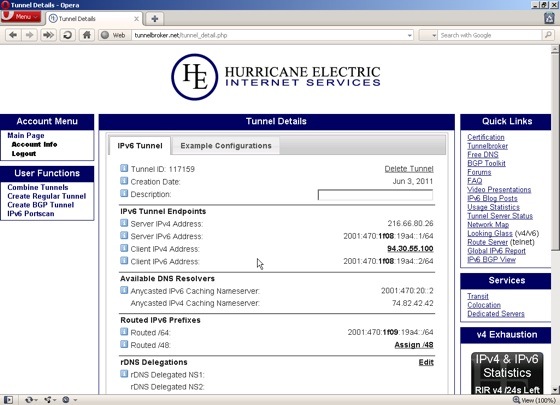
When the tunnel’s been created, you’ll see a summary screen showing the endpoints, with an IPv6 address for each end of the tunnel, as well as a routed /64, which you can use to assign IPv6 addresses to your own network. In the example here, you can see the client IPv6 address - my end of the tunnel - is 2001:470:1f08:19a4::2 and the prefix for my LAN is 2001:470:1f09:19a4. Note the difference in the third section of the address. The tunnel endpoints are using 1f08 and the local LAN uses 1f09.
You should also make a note of the IPv6 nameserver address. On some systems, this isn’t picked up automatically. For example, Mac OS X can auto-configure, but can’t pick up the DNS server address via DHCP6, so you’ll have to enter it manually in the Network preferences panel.
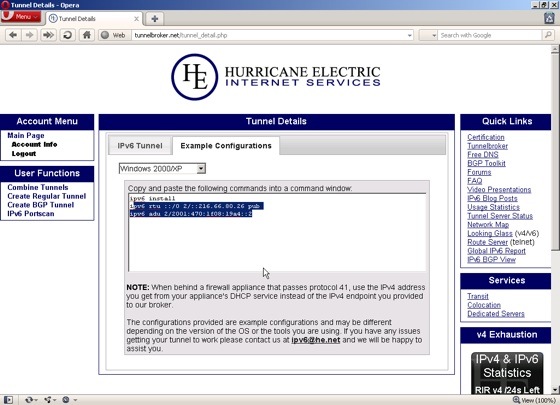
Once you’ve noted your specific addresses, click the Example configurations tab and select your operating system from the drop-down menu. You’ll see a list of commands that you need to copy and paste into a command window with administrator privileges. On Windows XP Pro this starts with the command:
ipv6 install
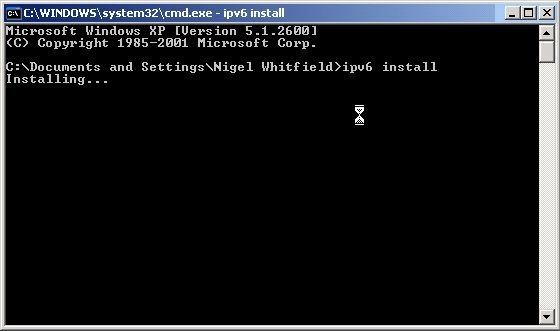
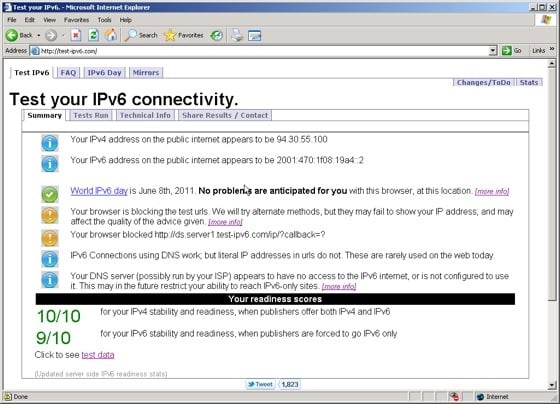
The next two commands – yes, that really is all there is to it – include the addresses for your system, so just copy and paste them one at a time from the example config on TunnelBroker. In theory, you can now head to IPv6 test site test-ipv6.com and you’ll receive confirmation that everything’s working correctly. That’s the theory. XP users may not always be so successful, thanks to Windows update KB978338, which is a hotfix designed to stop some potential security issues with IPv6 tunnelling, and has the side effect of breaking the setup on XP.
There are some workarounds – for example, some sites suggest adding an extra record to your DNS will fix it, as the fix uses that to check the tunnel is set up correctly. That didn’t work for me, and I used the alternative method of simply uninstalling KB978338. That’s not really recommended, though it solves the problem in the short term if you simply want to try things out using XP.
What next?
Now, you should have one machine connected to the IPv6 internet via the tunnel. Great if you’ve only got one computer, but what about folk who have more? For that, you’ll need to configure the Windows machine as a router, and tell it to advertise the prefix for your allocated range of IPv6 addresses.
Surprisingly, I found this a lot more fiddly to do with Windows XP than it was using an Open BSD box to do the same trick. And this is also where you’ll discover some of those glitches in current implementations of IPv6 – you can make some machines autoconfigure, but you’ll still have to enter other parameters like the IPv6 DNS address, and watch out for other gotchas. On the Mac, for example, if you enter an IPv6 DNS address when the system is set to configure via DHCP, it’ll remove any IPv4 address it’s obtained from the router.
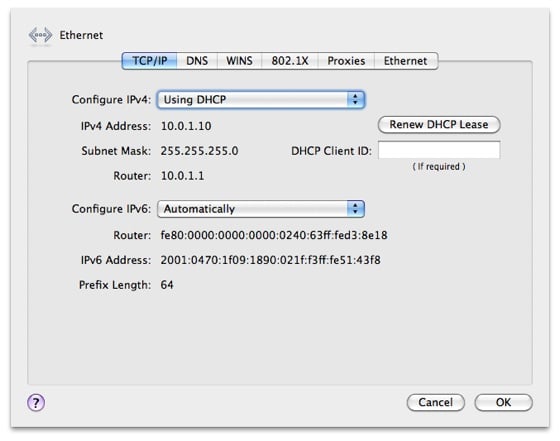
And, it’s worth stressing again that if you decide to do this, then you’re potentially making all the computers on your network available to the public IPv6 internet. You need to make sure that the firewall software you have on them understands IPv6, because you won’t be able to rely on your router’s firewall, or the presence of NAT, to stop people trying to connect back to your system. ®
