Original URL: https://www.theregister.com/2008/10/20/macosx_on_a_pc/
Run Mac OS X on a PC
We show you how
Posted in Software, 20th October 2008 11:33 GMT
Special Report Want to run Mac OS X on a PC? Perhaps you don't want to pay the premium for Apple's hardware - or Apple doesn't make the kind of computer you need, such as a netbook. Because of its native roots in Motorola and PowerPC code, this has traditionally required instruction level emulation. Two things have changed. Apple based Mac OS X on NeXT code, which could run on Intel. And since 2006 Apple has been making Intel PCs. In theory, installing Mac OS X on a PC is much easier. How do you go about it?
The version of Leopard sold by Apple includes drivers for Apple provided hardware only. It also requires an Apple Extensible Firmware Interface (EFI), which replaces the traditional PC BIOS. The Kalyway DVD is a hacked version of OS X that removes the EFI requirement and includes a variety of device drivers for common PC hardware.
Should you try this? As a minimum, I'd recommend the following: You are comfortable editing BIOS settings and knowing the details of your hardware and chipsets. You're not afraid of the Unix command line (not a definite requirement, but many of the troubleshooting guides out there mention it, so you'll probably have to use it at some point). And probably the most important: You have a lot of time.
Preliminary steps
Before trying this upgrade, you'll need to do some prep work.
- Know your hardware. There is no automatic hardware detection in this install. You will have to specify in detail your PC hardware configuration, including video card, amount of video memory, network card, CPU, sound card and motherboard chipset. Windows users can find this information in the Device Manager or by running msinfo32.exe. Linux users should run lspci and lsdev. Print this out and set it aside.
- Check the hardware compatibility list on the OSx86 wiki for known issues with your configuration. Take this with a grain of salt, as there are no guarantees your hardware will be supported. As the wiki says, "We want to keep it as accurate as possible, but please, do not entirely rely on this list when buying hardware."
- Download the Kalyway 10.5.2 ISO from your favorite torrent site and burn it on a DVD.
- Backup your data. You will be running disk partitioning software to create a Mac OS X partition, and the installer will be overwriting both that partition and the MBR of your drive.
- Choose a drive and create a partition for Mac OS X. The various OS X installation guides out there really dwell on disk partitioning. There are step by step guides for using Windows Disk Manager, diskpart, Partition Magic, and the Gparted live CD, among others. Whichever one you pick, be sure to create a partition at least 9GB. Don't worry about specifying the partition type or formatting it, the OS X installer will take care of that. What it won't do is create the partition, which is why we're doing it here.
Since the installer will be overwriting the disk's Master Boot Record, any other OS present won't boot unless you restore the previous MBR. By far the easiest way around this problem is to use a separate drive for OS X.
In my case, I'm installing on a new system with two disk drives, so I unplugged the Slackware/Windows drive and plugged the second drive in the primary SATA slot on the motherboard.
If all this talk of partitioning, MBRs and switching drive cables scares you, best to stop now. It gets a lot worse.
Now that the preliminaries are out of the way, it's time to install the OS. Boot the PC with the Kalyway DVD in the drive.

Press F8 when it says to, and turn on verbose mode by entering the startup option "-v" after "boot"
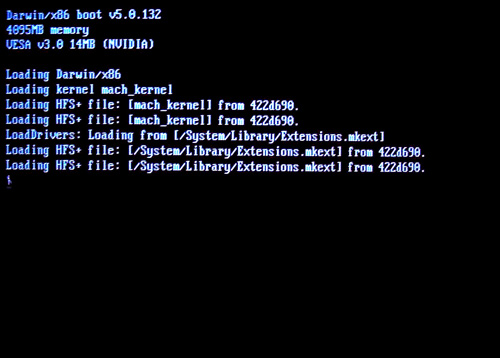
Darwin BSD starts to boot.

The installation begins
The Verbose option is, well, verbose as it loads the kexts: the kernel extensions, aka modules.
At this point the installer kept repeating the error: "Still waiting for root device." This is such a common error, it has its own wiki page. This can be caused by issues with IDE or SATA disk drives (my system has SATA), and there are any number of causes and fixes for it. Take a look at the discussion page here. Some people report having to put the DVD and IDE disk on the same cables, others replaced their SATA drives with IDE drives or used external USB disk drives.
After a few hours' worth of trial and error and Googling, changing the BIOS "OnChip SATA Type" to "AHCI" allowed the install to continue. In a multi-OS computer, XP may not boot unless the BIOS is switched back to its previous settings.
Whatever you try here, be sure to document both the original system config and any changes you make. After the tenth attempt at installing, you probably won't remember what you tried.

The language selection screen, at last!
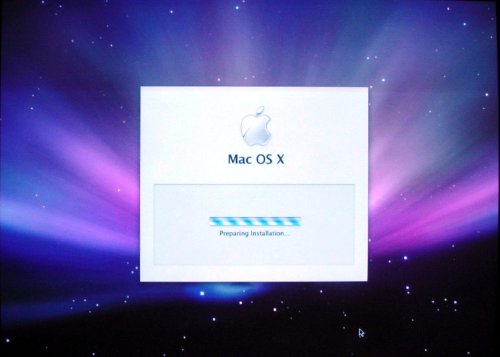
More waiting...
Don't press continue yet! We need to setup the partition before we can write to the disk.
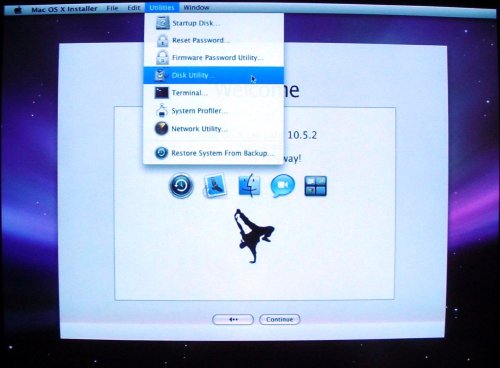
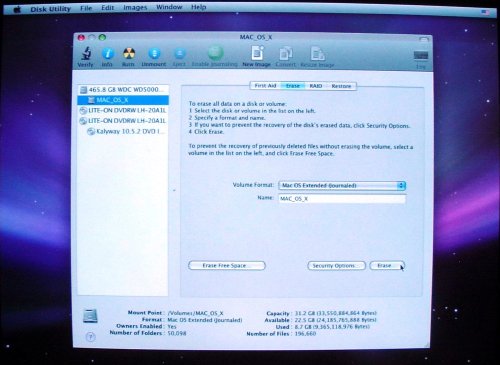
Open the Disk Utility...
Select the Mac partition on the left. The bottom section of the screen shows the disk format and size. In this case it already shows up as a Mac disk under Volume Format due to a previous failed install.
Click Erase and select "Mac OS Extended Journaled" in the drop-down. Name the partition, and don't use any spaces or special characters such as #, $, or *.
When it finishes, close the Disk Utility by clicking the red circle in the upper left of the window.
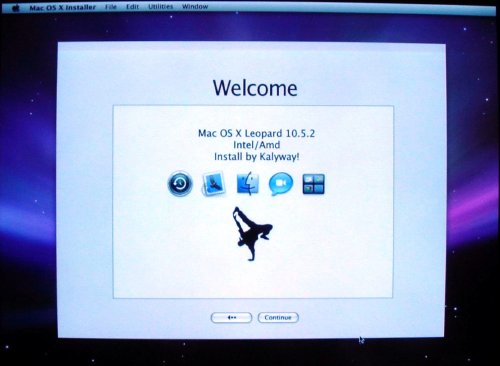
At the welcome screen, click Continue...
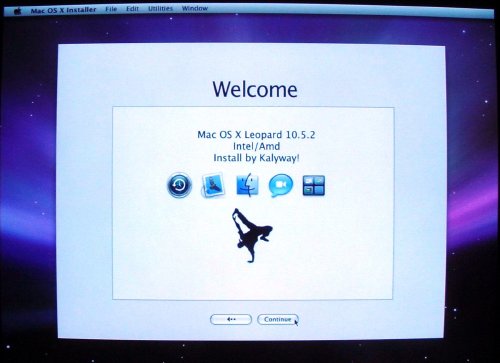
Note the customized Splash screen.
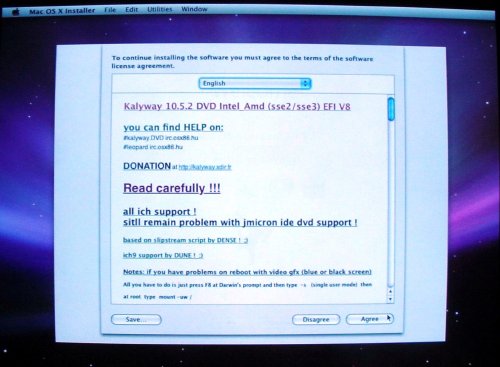
The Kalyway license page. Its not quite clear what we're agreeing to, as this is pirated software. But hey, at least it looks official.
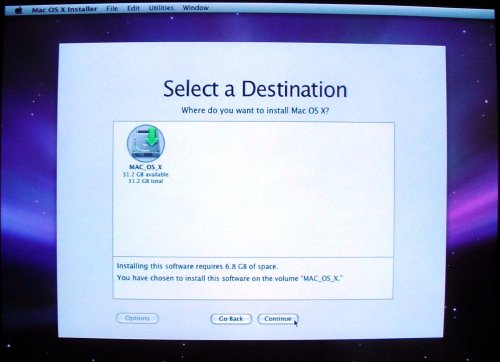
Select a disk for the install. Isn't there some user interface design guideline about not giving users a "choice" when they have only one option to pick from?
Click Customize to select your hardware.
The install guides on the web don't offer any useful advice here, so you're pretty much on your own. Hopefully you did your homework and identified your system configuration earlier.
A couple pieces of advice:
- Don't select all the items in a category (eg all NVidia drivers). Pick the one that most closely matches your configuration.
- Document every configuration setting. It will come in handy if (and almost certainly when) you have to install again.
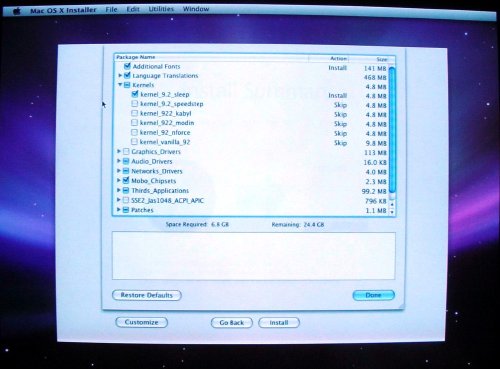
Choose your PC's hardware configuration.
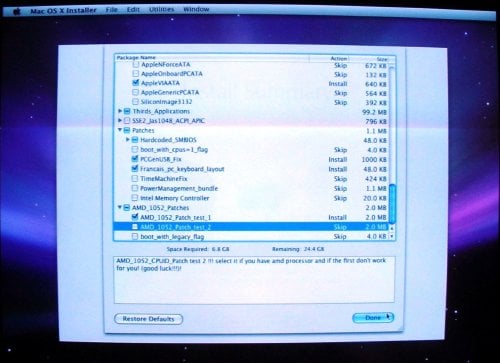
More detail from the Configuration screen.
If your computer has an AMD CPU, pick one of patches listed under "AMD_1052_Patches". If the OS install bombs, try again with the other one. When finished, click Done.
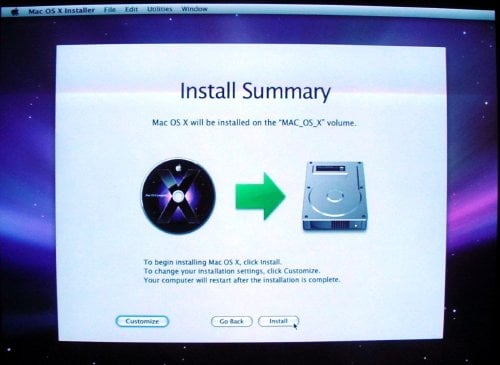
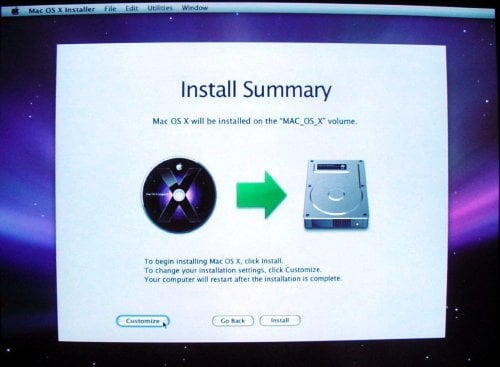
Back at the Install Summary screen, click Install
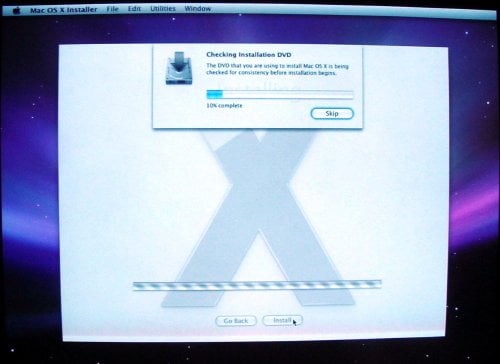
Checking the DVD is optional, and can be skipped
The installer spends a few minutes checking the DVD. This can be skipped, but let it verify the media the first time it's used. There are enough variables in installing OS X as it is. Bad media shouldn't be one of them.
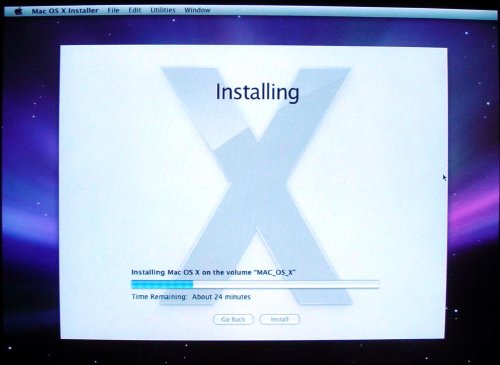
Like every OS installation progress bar ever made, this one lies. The actual install took 20 minutes.
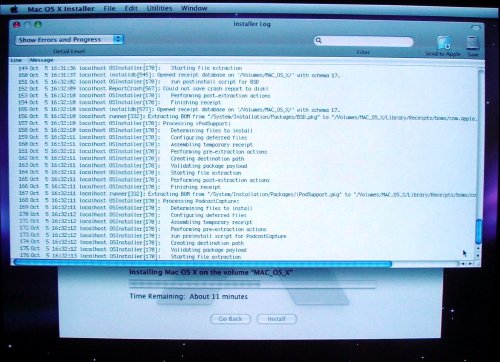
If you're not feeling geeky enough watching the graphical progress bar, click Installer Log under Window and get a more detailed view of the installation process.
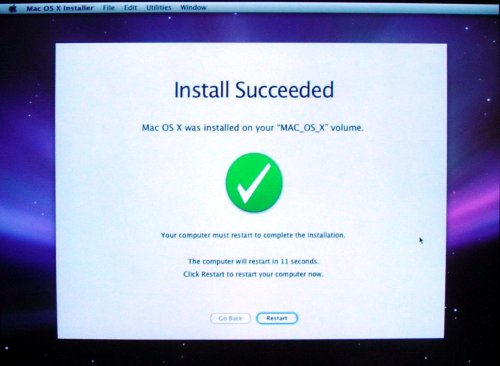
You've made it! Maybe. Click Restart to find out if the installation was a success
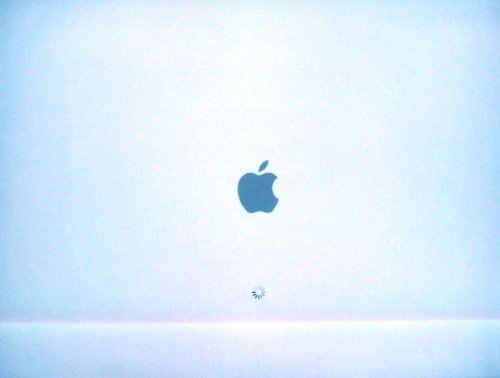
The Mac OS X loading screen.
If the progress indicator spins forever, reboot, press F8 and enter "-v" after boot to try and get an idea of what went wrong. Repeat the installation with different hardware options at the Configure screen.
In my case it took two installs to get the Leopard to boot.
The intro video plays, welcoming you to the Mac in several different languages. If sound doesn't work at this point, it's time for another reinstall.
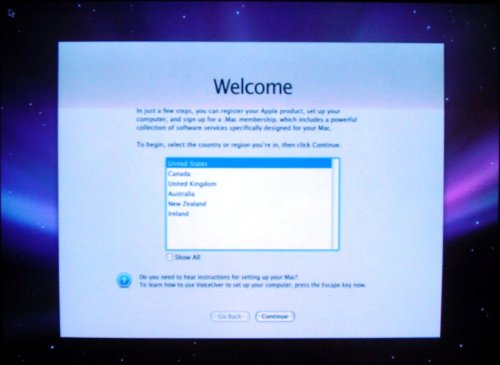
Choose your country...
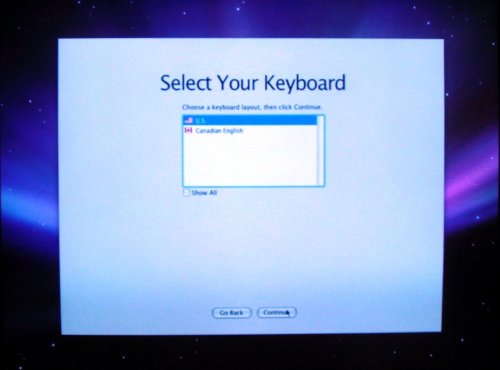
...and keyboard.

The installer offers to import data from another Mac, disk partition, or a Time Machine backup
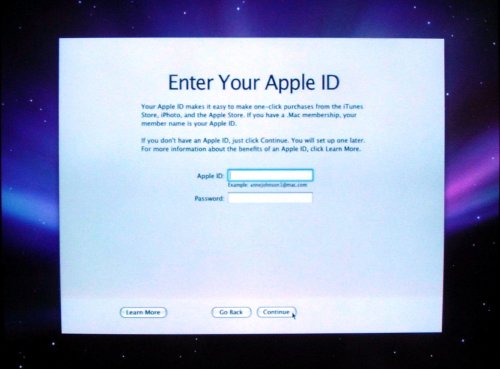
Enter your iTunes ID for One-Click™ Consumption
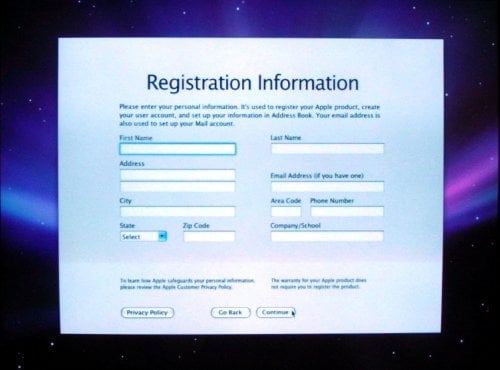
You now have the opportunity to incriminate yourself. Don't take it.
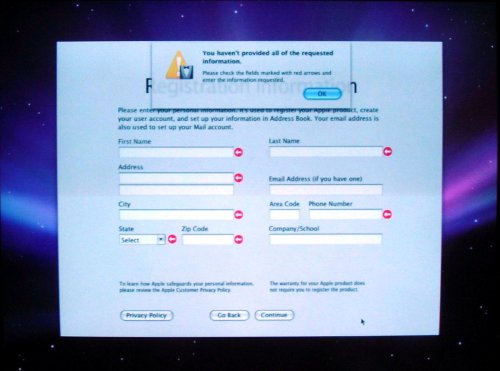
No one expects the Cupertino Inquisition. I'm told hitting Command-Q on a Mac will cancel the Registration, so CTRL-Q would probably do the job here. If not, just make something up like I did.
Is this an OS install or an episode of Columbo?
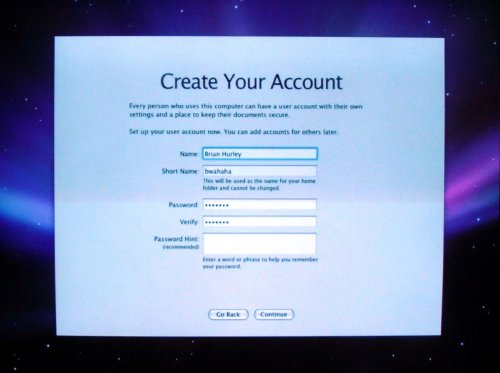
Unlike registration, entering your account name is mandatory.
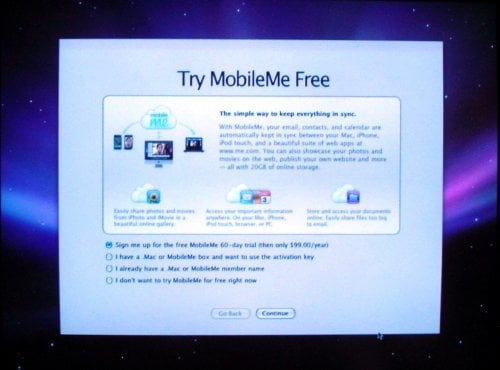
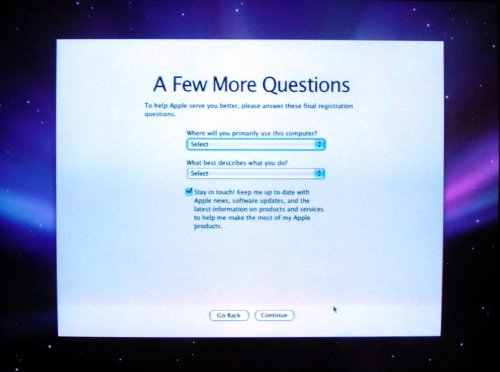
Another monetizing opportunity flashes past. It's optional.
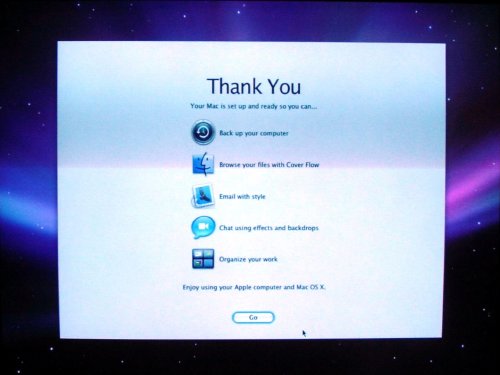
Almost there...
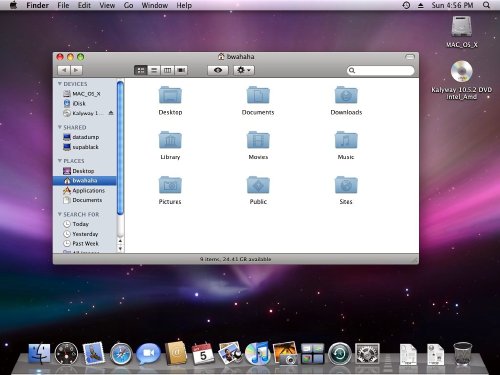
The End. Or is it?
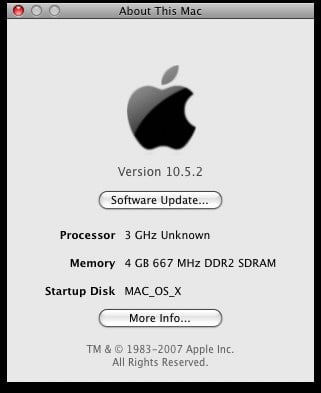
The proof is in the About This Mac dialog box
Conclusion
So at the end, I've left with a more-or-less fuctional Mac OS x install. Everything except USB worked. I didn't run any benchmarks, but under casual use performance is comparable to XP or Linux. Then again, this is an AMD dual core 3000 Mhz SATA box with a reasonably fast video card, so it should be fast under any OS.
Apple won't officially support your new Hackintosh, but what about system patches? Intel owners can download the latest Apple Combo Update and try their luck, subject to some caveats, but I couldn't find any usable update path for AMD-based systems. After trying the Combo Update, my system locked up before the mandatory reboot and hung on the Mac OS loading screen every time it tried to boot. I spent several hours booting from the install disk and trying to fix it, but this proved fruitless (pun not intended). Another reinstall resulted in a bootable system, but this time the sound didn't work, despite my using the settings written down from the previous install. This could be human error, or the results of some installer or driver instability. By this point I was out of patience for OS reinstalls and called it quits.
This experience reminds me of computing back in the early 1990s - the DOS/Windows 3.x days. We spent endless hours loading device drivers, fiddling around with IRQs and addresses, and trying to optimize free memory under 640K. In the early 2000s, Linux was as big a pain to get to a usable point.
Installing OS X brings back similar memories. The difference is that in the past we had no choice; that sort of effort was the price of entry into personal computing. Modern computer users have plenty of good choices available. If you want a proprietary OS that supports your hardware, XP or Vista will do the job. If you want an Open Source OS, there are many flavors of Linux and BSD available. Any of these OSs will take far less time to install and provide better hardware support than a pirated, hacked version of OS X.
If you miss the good old days when installing an OS took real effort, or you're an Apple fan who can't afford a Mac, or if you're just intensely curious and have plenty of free time, installing Mac OS X on a standard PC is a good project for you. The rest of us are better off sticking to Linux or Windows.
If you really want the Mac experience, then buy a Mac. ®