This article is more than 1 year old
How to backup and restore your netbook
Duplicate your OS, updates, apps, documents, the lot
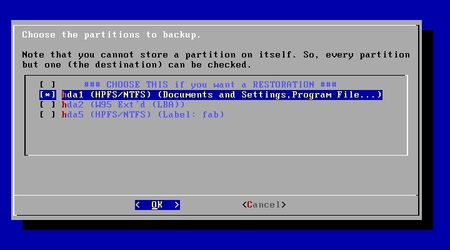
You'll now get a list of drives and the partitions on them. The first entry in the list is special: it's the one you select when you're restoring your machine from a previous backup. For now, you'll be looking for your netbook's drive - most likely listed as sda1 or hda1 and marked EXT2 or EXT3 if it's a Linux machine, FAT or NTFS if you use Windows. Highlight the correct drive and hit the spacebar to mark it with an asterisk.
Note that the screengrabs below show typical set-ups - don't expect what you see on your machine to match them exactly.
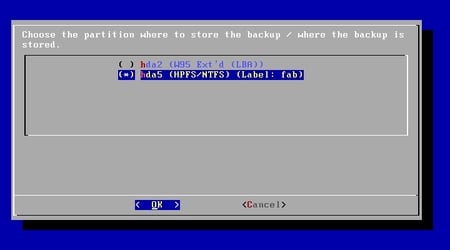
You'll get a similar screen next - this time, you tell PING the drive on which you want it to store the backup. It'll be listed as something like sdb1, and you'll probably recognise the drive's label.
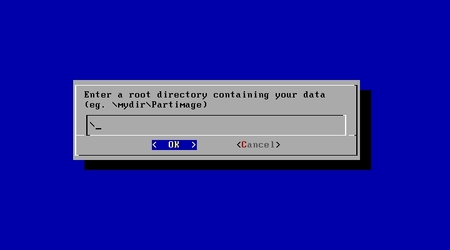
Now it's time to configure your backup. On the next screen, you enter the name of the folder into which the backup will be saved. Just enter a \ to create the backup at the top level of the disk's folder structure and hit Enter.
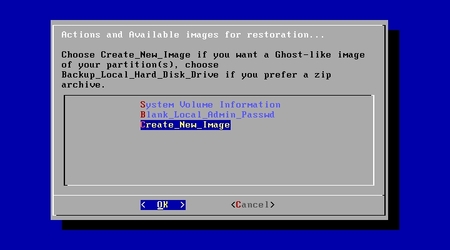
The following screen lists folders already present on the drive. It also gives you the chance to create a new one, so select Create_New_Image.
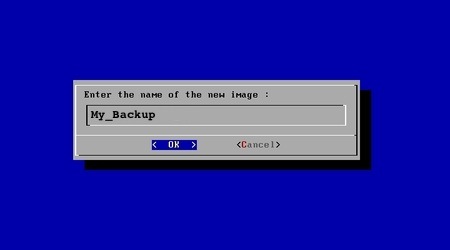
Next, you'll be asked to enter a name the backup - the "name of the new Image". How about My_Backup? This will force PING to create a folder called My_Backup at the end of the path you specified on the previous page.
PING will ask you now if you want to store detailed file information in the back-up. For most netbook users, it's best to select 'No'.
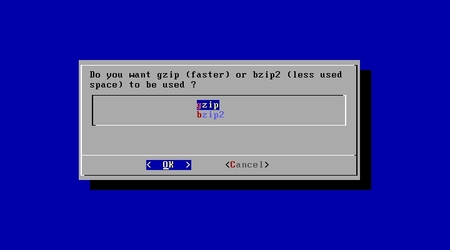
The next screen asks you which compression scheme you want to use: gzip makes for a quicker back-up process, but b2zip packs the files in more tightly - handy if you're backing up to a low-capacity Flash drive. We use gzip to save time. Or you can select to use no compression at all.
